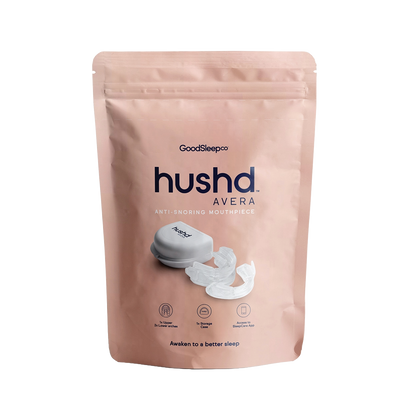
Hushd Pro Avera
How to use your Pro Avera

Your custom-fitted device is ready to use. Follow these steps to put it in, care for it and understand your arch combinations.
Before you start
Pro Avera is custom-made for your teeth. It is supplied ready to wear. Start with the arch combination recommended by your treating practitioner.
Get to know your five arches
- Upper: U1 and U2
- Lower: L1, L2 and L3
Wear one upper and one lower arch together. The different pairs change how far your lower jaw is held forward.
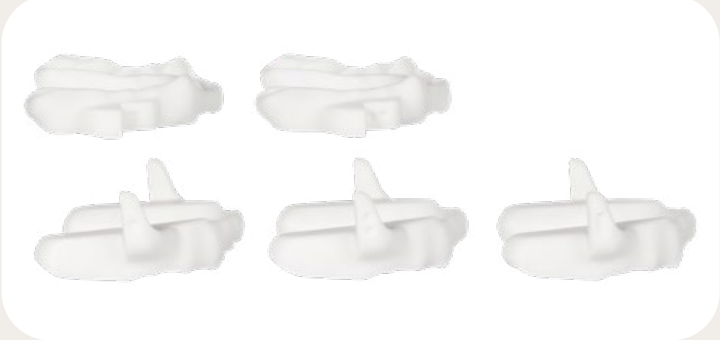
No starting combination specified? We recommend starting with U1 + L1 unless your practitioner has advised otherwise.
Put your device in
Step 1 of 4: Choose your upper and lower arches
Use the combination recommended by your practitioner. If none has been specified, start with U1 and L1.
Step 2 of 4: Place the upper arch on your upper teeth
Press the upper arch into place so it fits over your upper teeth.
Step 3 of 4: Place the lower arch on your lower teeth
Fit the lower arch over your lower teeth in the same way.
Step 4 of 4: Check the fins are in front of the blocks
The lower arch’s fins must sit in front of the upper arch’s blocks. Check the position before wearing your device to sleep.
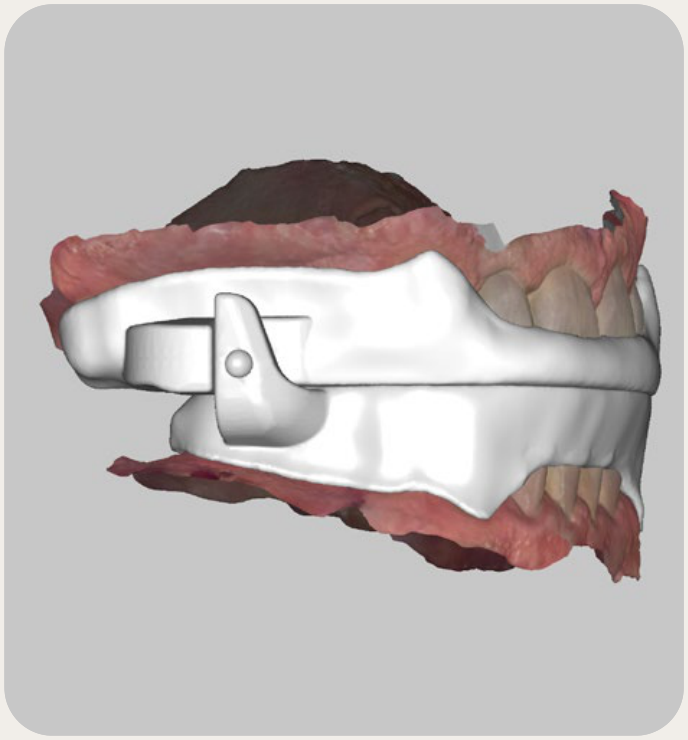
Lower fin in front. Upper block behind.
Unsure about the fit? Contact your treating practitioner for help positioning your device.
Take your device out
Remove your device after sleeping, then clean it before storing.
Step 1 of 2: Remove one arch at a time
Hold both sides of the arch and pull slowly and carefully, using even, controlled pressure.
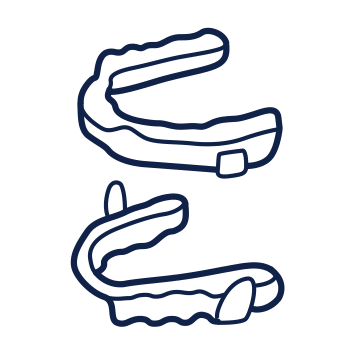
Remove each arch separately. Step 2 of 2: Remove the other arch
Repeat the same gentle, even pressure on both sides of the remaining arch.
Clean and store your device
Clean your device after each use.
Step 1 of 4: Rinse the arches
Rinse your device after use.
Step 2 of 4: Apply Cleaner foam
Dispense Good Sleep Co Cleaner foam onto the device.
Step 3 of 4: Rinse again and dry
Rinse away the Cleaner foam, then dry your device.
Step 4 of 4: Store until your next use
Place your clean, dry arches in the supplied storage dish.

Clean, dry, then store.
Your nightly routine
- Wear your device each night while you sleep, using your current arch combination.
- Clean it after every use and store it in the supplied dish.
- Brush and floss after use, along with any other oral care recommended by your dentist.
- Review your sleep quality. We recommend SleepCare, or speaking with your practitioner about monitoring options.
Keep a note of the arch combination you are using when reviewing your sleep.
Next: understand your arch combinationsAdjust your arch combination
Changing the upper and lower arch combination moves your lower jaw further forward. This is called titration.
Follow your dentist’s instructions. If your dentist has told you to change arches only under their supervision, wait for their instructions before moving to another combination.
For changes that do not require your dentist’s supervision:
- We recommend about one week on each combination.
- Wait until you are comfortable with your current setting before progressing.
- Progress if you are not getting the desired result.
| Position | Wear together | Advance from start |
|---|---|---|
| 1 | U1 + L1 | Start |
| 2 | U1 + L2 | +1 mm |
| 3 | U1 + L3 | +2 mm |
| 4 | U2 + L1 | +3 mm |
| 5 | U2 + L2 | +4 mm |
| 6 | U2 + L3 | +5 mm |
Keep U1 while moving from L1 to L2 to L3. For the next position, change to U2 with L1, then progress through L2 and L3.

Record the combination you use and review your sleep quality. Discuss your progress and any questions with your treating practitioner.
Next: questions & helpQuestions & help
Is this the same as the mold-at-home Avera?
Pro Avera is custom-made for your teeth and supplied ready to wear, with U1, U2, L1, L2 and L3 arches. If you have the mold-at-home device with U, L1 and L2, use the Hushd Avera fitting guide.
Which arches should I start with?
Use your practitioner’s recommended starting combination. If they have not specified one, we recommend U1 with L1.
Do I need to move to a new combination every week?
We recommend about one week on each combination and waiting until you are comfortable before progressing if you are not getting the desired result. If your dentist requires supervised changes, wait for their instructions.
What if I’m not sure the device fits correctly?
Contact your treating practitioner so they can help you check the fit and arch position.
Can I use Cleaner before wearing my device?
Our Cleaner whitening formula can also be dispensed onto the arches before wearing them at night. This is optional and refers specifically to the Good Sleep Co Cleaner whitening formula. Clean the device after each use.
My kit includes a Morning Aligner. What do I do?
A Morning Aligner is included if it was ordered. Ask your treating practitioner how to use it as part of your care plan.
Need help with a step?
Tell us which product you have and where you’re stuck. Our team can help.